 Output, a Los Angeles based music software company is opening it’s doors Nov 12, 2013 and launching REV – the world’s first collection (and a massive one) of instruments, loops, rises, pads, pulses, swells and more all in REVERSE. Released in partnership w/ Native Instruments, REV is built w/in the Kontakt en- gine and installable through the NI Service Center.
REV offers users the first chance to play instruments in real time in reverse and includes over 1,000+ pre- sets spread over 4 unique engines. All sounds lock to tempo and work within all major DAW’s. Engines include a wide array of filters, stutters and FX that can help the user tweak the sound both in the studio and on the fly. Available from outputsounds.com, REV will be sold as a full collection for $199 and is built for anyone looking to push their sonic envelope – Producers, Composers, Artists, DJs, Sound Designers, etc.
First Look Video:
A few early endorsers include:
David Kahne (Producer of Paul McCartney, Lana Del Rey, Sublime, The Strokes, Kelly Clarkson) Bill Brown (Composer CSI)
Jeff Beal (Composer House Of Cards, Ugly Betty)
Greg Townley (Producer, Mixer: Sideways, Up In The Air)
Jeff Rona (Composer, Lead figure in Building MIDI)
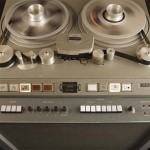 Waves and Abbey Road Studios present the J37 tape saturation plugin, a precision model of the very machine used to record many of the greatest masterpieces in modern music. With a variety of user-adjustable controls including Tape Speed, Bias, Noise, Saturation, Wow and Flutter, the Waves: Abbey Road J37 faithfully recreates the inimitable sonic signature of the original machine. In addition to the J37 itself, three exclusive oxide tape formulas have been modeled. Specially developed by EMI during the ‘60s and ‘70s, each formula has its own unique frequency response and harmonic distortion behavior. In order to push the envelope even further, a comprehensive Tape Delay unit has been added to complement those warm tones.


 A quick overview of the Ample Guitar M lite
 SicknDstroy is a multimode bit crusher by Inear Display with four selectable output modes. This plug-in can split the signal into two parts, a bit crushed signal and a samplerate-reduced signal, it can then combine them in diffrent ways (such as ring modulation). The simple interface allows for fast manipulation of the signal and ease of use. This fantastic free plug-in is avalible for both MAC and PC.
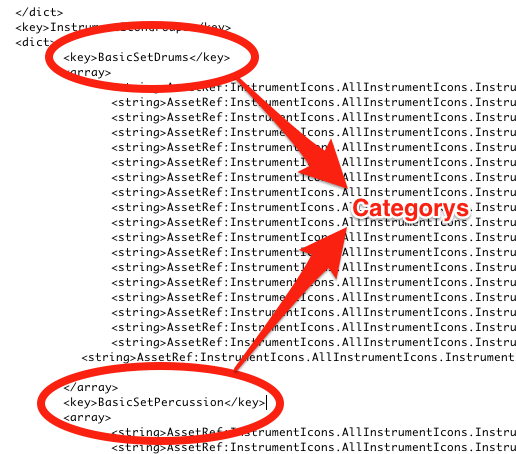
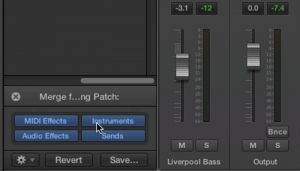 In Logic Pro X you can merge patch settings from another patch with the current patch. This has several uses: for example, you can merge effects with a patch while keeping the existing instrument, or conversely try out different instruments while preserving the existing effects setup.